


There’s no doubt that live streaming has become a booming trend. Between April of 2019 and 2020, hours watched by live stream audiences grew by 99% – an enormous growth period for the industry.
So, how can you jump aboard the trend? Keep reading for a simple, step-by-step walkthrough of how you can begin live streaming and grow your very own online audience. This guide will run you through some of the more technical stuff but if you’re streaming something like a podcast or just chatting, then check out Studio 2 to set up a stream without having to worry about setting up any of that technical wizardry!
Let’s get into it!
What is Live Streaming?
The beauty of live streaming is that it offers viewers an unfiltered and uncensored glimpse into the life of the person or people streaming. There’s no need for editing, and often no time for second-thoughts; it’s raw, spontaneous and (theoretically) unscripted.
For the broadcaster, live streaming can be a great way to build an audience and connect with fans in a more personal way. It’s also a powerful marketing tool, as it can help you reach new customers and promote your brand or product.
About to make your livestreaming debut? Try Lightstream Studio 2. It’s easy to use, no downloads are required, and you’ll look professional.
How To Live Stream: Essential Live Streaming Equipment
The incredible thing about live streaming is that you can really do it with any device that can connect to the internet. As long as you have a camera and microphone (or even just a console) you can live stream.
That said, there are some devices that work better than others, and high-quality streaming requires a little more gear. Here’s what most professional quality streamers get started with.
1. Video and Audio Tools
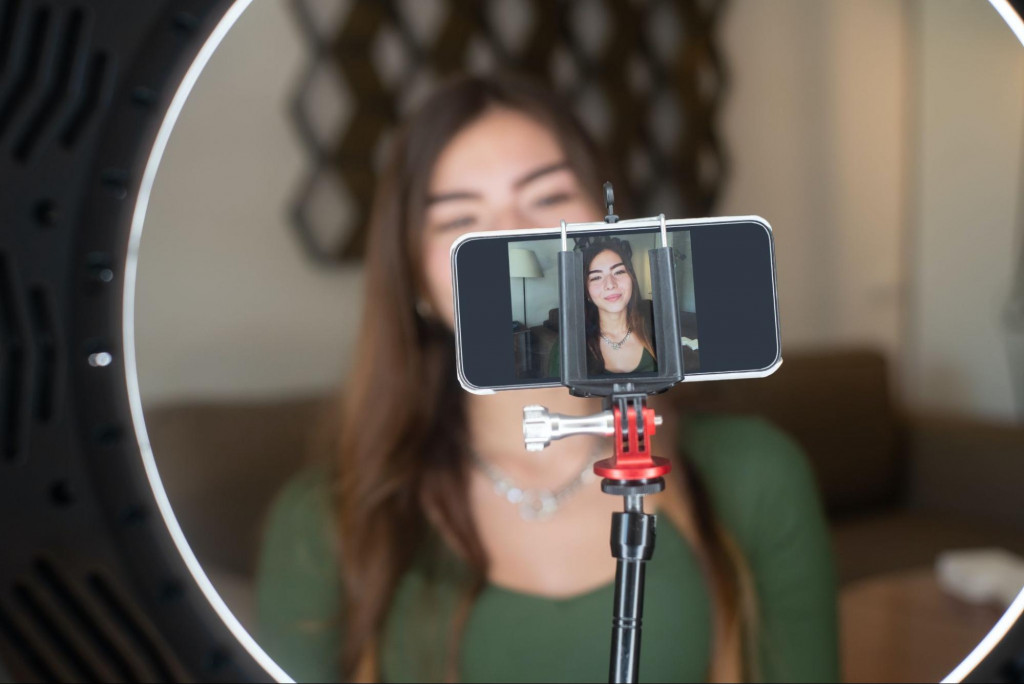
Perhaps the most obvious components of your live stream are the video and audio sources. Live streaming typically relies on webcams and microphones, but there are a number of other options as well.
You could use a DSLR camera or even your smartphone to capture video footage. As for the audio, you can use a microphone (either built-in or external) or record live audio directly from your computer.
Capturing Your Video and Audio
To begin your live stream, you must be able to capture your audio and video, and this requires specific equipment.
Capture card: If you’re not using a capture card-less solution (like Lightstream), you’ll need one of these to stream from your computer. Simply put, a capture card is a device that plugs into your Mac or PC and allows you to record the video output from your camera.
Don’t want to deal with the additional cables, cost, and hassle? Lightstream has your back with tech build for console, mobile, IRL streaming and more! We highly recommend it 😉
Microphone: You’ll need one to capture audio. The most important factor when choosing a microphone is the quality of the sound it captures – you don’t want any background noise or distortion in your live stream.
HDMI cable: This is used to capture your video and audio in sync. If your devices do not have an HDMI port, you can use a converter to change the signal from one type of port to another.
2. A Video Encoder
The next thing you will need before you begin your live stream is a video encoder. This is the device that will take your video signal and turn it into a stream that can be broadcast live.
Video Encoders: Why You Need One
So, what exactly is an encoder?
An encoder is a device or software that converts an input signal into a compressed digital format. In live streaming, the input signal is your video and audio source. The compressed format is typically either H.264 or MPEG-4 Part 2, which are the two most common codecs used in web streaming today.
The main reason you need an encoder is because live streaming requires a lot of bandwidth. Your viewers need to be able to download the video quickly and without interruption, so the compressed format needs to be as efficient as possible.
If you’re using a platform like Lightstream, most of the technical stuff is taken care of – just load up your console game, connect to Lightstream, and off you go. Otherwise, you’ll probably have to get your hands dirty (i.e learn about the different types of video encoders on the market).
All video encoders share one common goal: to produce a high-quality live stream. Factors that will affect the quality of your stream include the encoding format, the bitrate, and the resolution.
The Different Video Encoder Types
There are two main types of encoders: hardware and software.
- Hardware encoders: these are physical devices that you connect to your camera in order to encode the video signal. They’re typically more expensive than software encoders, but they can often produce better quality video.
Looking for a high quality, simple hardware encoding solution? Our fan-favorite is Teradek.They offer a range of high performance encoders for any task.
- Software encoders: these encoders run on your computer and use your CPU to encode the video signal. They’re typically cheaper than hardware encoders, but they will produce lower quality video.
In general, if you have a good quality camera, you’ll want to use a hardware encoder. If you’re using a lower quality camera or that on your computer isn’t very powerful, you’ll want to use a software encoder.
Another simple yet powerful option is to use Lightstream, which allows gamers to stream to their destination in 60 seconds without downloading any software.
Encoder Settings to Note
Once you have chosen an encoder, you will need to install it on your computer and configure it to work with your live-streaming service. Each encoder will have its own set of instructions, so you will need to follow the specific instructions for your device.
1. Set your bitrate
Your bitrate is how much data your encoder will send to your live streaming service per second. This setting affects the quality of your stream: the higher the bitrate, the better the quality of your stream. However, it also requires more bandwidth, so you will need to make sure you have enough upload speed to support it.
The minimum bitrate for a good quality stream is 1000 kbps, but we recommend a bitrate of at least 3000 kbps for best results.
2. Set your resolution
Your resolution is the size of your stream in pixels. You have probably heard or seen the terms ‘SD’ and ‘HD’ before:
- SD stands for Standard Definition and refers to a resolution of 640×480 pixels.
- HD stands for High Definition and refers to a resolution of 1280×720 pixels or higher.
Most live-streaming services recommend using an HD resolution if possible, as it will provide the best quality stream. However, if your internet connection is not fast enough to support an HD stream, you can still stream with a lower resolution.
3. Set your frame rate
Your frame rate is how many frames (pictures) your encoder will send per second. The higher the frame rate, the smoother your stream will look. Most live streaming services recommend a frame rate of at least 30 fps, but 60 fps will get you a much smoother stream. The best quality live streams use a frame rate of 120 fps or more.
4. Set your codec
The codec is the algorithm that encodes your video stream, so it is important to set this correctly.
Most live streaming services use either the H.264 or MPEG-4 codecs, which are both widely supported. MPEG-4 is generally regarded as the first successor to older video codecs like H.261, H.263 and MPEG-2. H.246 was developed afterwards as a response to the shortcomings of MPEG-4, in particular its high bitrate and complexity. It is a more streamlined standard that uses a simpler encoding algorithm and achieves lower compression ratios.
You can adjust your codec setting by opening your particular encoder’s configuration and searching for the codec option.
3. The Destination for Your Stream
So you’re all set up with your camera, mic, and encoder, but what’s the next step? You need to find a destination for your stream. This can be a website, software, or service that will host your live stream.
Choosing a StreamingDestination
There are plenty of options available for streaming your video, but some will be more suited to your content style than others. Here are some of the most popular destinations:
YouTube
This is a great platform for anyone looking to share video content with a large audience. With over 1 billion users, YouTube is a powerful tool for getting your message out there.
To begin live streaming on YouTube, simply create a new video and click the “Live” button in the top right corner. You can then choose to share your stream with specific people, or make it public for anyone to watch.
Facebook is another great option for live streaming, especially if you’re looking to connect with friends and family. The platform has over 2 billion active users, so there’s a good chance most of your contacts are already on Facebook.
To start streaming on Facebook, simply navigate to the area of Facebook you want to stream from, tap the “Live” button in the post composer, fill out the description of your video, and then tap “Start Live Video.”
Twitch
Avid and casual gamers alike enjoy Twitch. The platform is home to live streaming of video games, as well as creative content, music performances, and more.
Creating a Twitch account is easy – just head to the website and click “Sign Up”. Once you’re registered, just tap on your profile and click “Go Live”, then fill out the description and begin your stream.
If you are opting to use Lightstream, both the app and browser version work seamlessly with Twitch IRL.
Livestream
Livestream (formerly Vimeo Livestream) is a great platform for all kinds of live streaming content. You can stream video games, creative content, interviews, and more.
Regardless of which destination you choose, you will likely need to choose between two options: stream now, or schedule your stream for later. You can then set a description for your event and even advertise what you will be streaming.
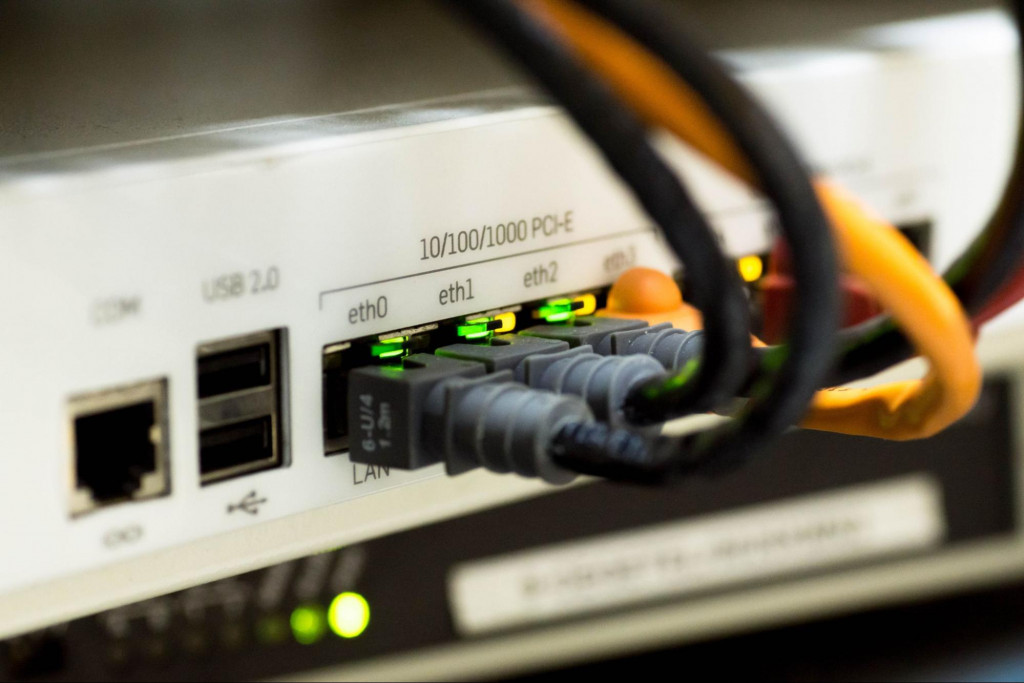
4. Steady Stream of Internet Data
Of course, one of the most important components of your live stream is a stable internet connection. If your signal is too weak or your upload speed is too slow, you may experience buffering or quality issues during your broadcast.
To ensure a smooth stream, go through the following mental checklist before you begin each stream:
- Is my internet connection strong enough?
- Do I have enough bandwidth to support a live stream?
- Is my equipment up to the task (webcam, microphone, etc.)?
If you’re not sure about your internet connection or your bandwidth, test it out with a speed test like those offered by Ookla or Speedtest.net.
If your results indicate that you may experience issues with your live stream, you may need to take some steps to improve your connection, such as upgrading your internet plan, switching providers, or purchasing a more powerful router.
Internet Recommendations
If you have a choice, a wired internet connection is always the most reliable for streaming. This is because a wired connection provides a direct path from your device to your internet service provider, while a wireless signal can be more susceptible to interference.
If you must use a wireless connection, try to place your device as close to the router as possible and avoid using or streaming over crowded networks. Cellular data connections are not recommended for streaming.
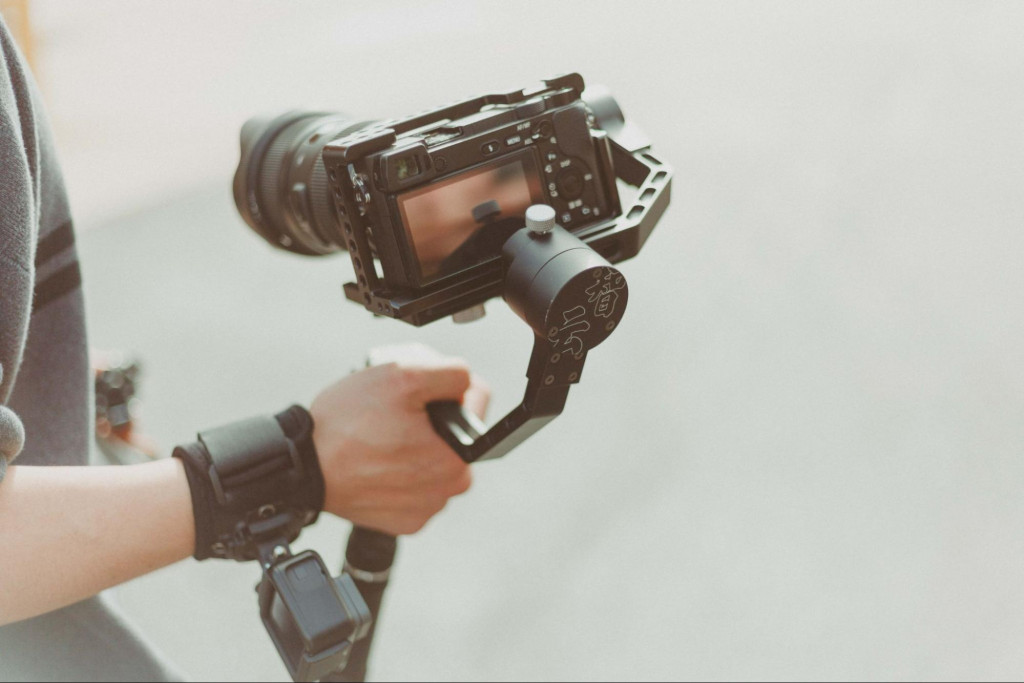
5. Suitable Camera
The camera has a section all to itself, as finding the right camera for your live stream is essential. You don’t need to break the bank, but you do want a camera that will capture your image in good quality and won’t glitch out on you.
Some key factors to look at when choosing your camera are:
- Resolution: The higher the resolution, the better your image will look. Try to find a camera that offers at least 720 p or 1080 p.
- Frames Per Second (fps): Most cameras offer 30 fps or 60 fps, but for a really smooth stream you may want to look for one that offers 120 fps, or more.
- Inputs and outputs: Make sure your camera has an HDMI input, as this is what you’ll need to connect to your streaming device. To output your stream to a monitor or TV, you’ll need a camera that has an HDMI output.
Once you’ve found the right camera, it’s time to set it up and start streaming!
The 5 Simple Steps to Live Streaming
Now that you know exactly what equipment you need, it’s time to learn how to use it. The following five steps will take you through the basics of live streaming.
1. Secure the connection between your video, audio, and encoder.
This is probably the most important step. If your signal isn’t strong and clear, your viewers will get a poor quality stream. Make sure all of your equipment is plugged into a power outlet, and that your cables are in good condition.
For a Software Encoder:
If you’re using a software encoder, or a web-based program like Lightstream, make sure your computer is plugged into the internet. Then, open the encoder and input the stream information. Voila!
For a Hardware encoder:
If you’re using a hardware encoder, like the Blackmagic Design Studio, make sure all of the cables are plugged in and that the device is turned on. Open the encoder software and input the stream information.
2. Configure your encoder.
The exact steps for configuring your encoder will vary depending on the model you are using, but most will require you to input a stream name and URL.
Other settings you may need to configure are audio bitrate, sample rate, and audio channels. You can find most of these settings in your encoder’s settings menu, or in the stream configuration tool provided by your live streaming service.
If you are unsure about which settings to begin with, start with a conservative configuration and increase the bitrate and resolution as needed.
3. Sort out your streaming destination.
The next step is to configure the settings of your streaming destination. To do this, you’ll need to create an account and supply the necessary details.
Most CDNs (Content Delivery Networks) will require you to create an “application” and provide some basic information, such as the name of your stream, its URL, and a brief description.
4. Paste your destination URL and stream key into the encoder.
The destination URL is where your viewers will watch your stream, and the stream key is a code that ensures only authorized viewers can watch your stream. You can find both of these in your streaming software or service’s dashboard.

The stream key can usually be found in the “Stream” tab of your streaming software. If you’re using a service like Twitch, the stream key will be automatically generated for you.
5. Click “start streaming” and go live!
That’s it – you’re ready to begin the stream!
The Best Platform to Host your Live Stream
It’s difficult to give one final recommendation for which platform to use when streaming, as it depends on your needs and preferences. However, we can give a general overview of the most popular streaming platforms so you can make an informed decision.
For gaming streamers:
Twitch is the most popular streaming platform for gamers. The website has a built-in audience of millions of gamers who love to watch other people play games. Twitch also has a number of features specifically designed for gaming streamers, such as game streaming software and tools that make it easy to stream your gameplay.
For casual social streamers:
Facebook Live is a good platform for streaming casual content. Since Facebook has such a large user base, your live stream will have the potential to reach a lot of people. Facebook also offers some great features for live streaming, such as the ability to add reactions and comments from viewers in real time.
For hobbyists:
YouTube is the most popular platform for streaming hobbyist content. Whether you’re a musician, artist, or just have some interesting content to share, YouTube is a great platform for reaching a large audience. YouTube also offers a wide range of features and tools for live streaming, making it easy to get started.
No matter which platform you choose, make sure you test it out first to see how it works with your equipment and content.
FAQs
Still got questions about how to live stream? Find your answers here:
Best way to live stream/what is the easiest way to live stream?
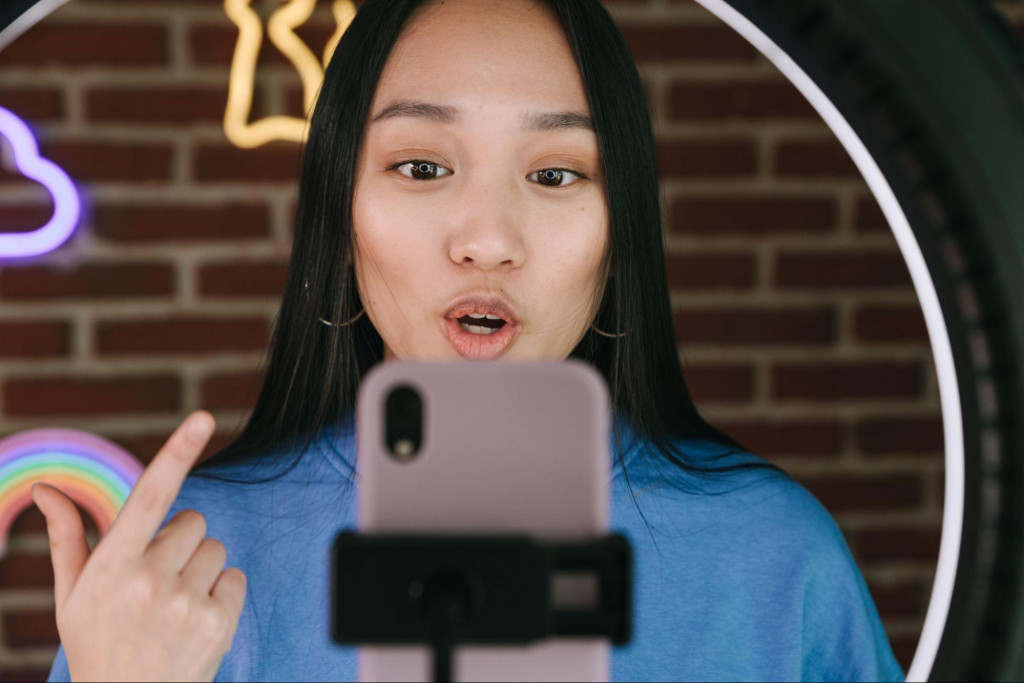
In general, streaming with just your phone and an app like Instagram or Facebook Live is one of the simplest and most user-friendly ways to go about live streaming.
Do you need a capture card to stream?
A capture card is not necessary to stream, but can be helpful. A capture card will allow you to record your gaming footage or other content directly from your console or computer. Alternatively, Lightstream allows you to stream with a cloud-based setup that does not require a capture card.
How can I stream live for free?
The most common way to stream for free is to use a social media app like Facebook, Instagram, or Twitter. You can also use a live streaming app like YouTube Live or Twitch.
Another way to stream live for free is to use a webcam or phone to stream live on your website or blog.
Top Tips for Your Next Live Stream
To close out the article, here are a few last-minute tips on how to live stream successfully:
- Upload relevant video content that your viewers will be interested in.
- Engage with viewers by answering questions and responding to comments.
- Promote your live stream ahead of time on social media and other platforms.
- Make sure all your equipment works properly before starting the stream.
- Stay hydrated and take breaks when you need to.
- End your stream on a high note by thanking viewers for their time!
Conclusion
Whether you’re a brand new streamer or a seasoned pro, we hope you’ve found this guide helpful. Live streaming can be a lot of fun, and it’s a great way to connect with your followers and make new friends. So get excited to start your free live streaming session on Twitch with our exclusive free gamer trial offer
Whether you’re streaming content on Twitch or YouTube, Lightstream has you covered! From streaming from your console with Lightstream Gamer, to a talkshow or podcast with your friends on Studio 2, to a full production setup on Creator, Lightstream can make it fast and easy to get started.